


How to Add External JavaScript Libraries to Flowise for Custom Chatbot Tools
Artificial Intelligence Development


The web-based Remix IDE is the go-to development editor for those looking to develop and test remix Ethereum contracts.
However, while Remix is an excellent tool for developing Ethereum contracts, under the hood, it has some limitations, mainly because the Ethereum test network it uses to run contracts is a blackbox running inside a virtual machine in the browser.
Given the local test network runs in the browser, it is difficult to monitor the properties of that blockchain, such as which transactions are running or to configure the actual properties of the local chain for advanced testing.
Further, some developers (ie. me) don’t really like the coding experience of a web-based IDE like Remix and want to use a local editor like Visual Studio Code alongside a locally running blockchain network like Hardhat or Truffle’s Ganache to actually develop our web3 apps. At the same time, we don’t want to lose the incredibly powerful testing and deployment experience that Remix provides.
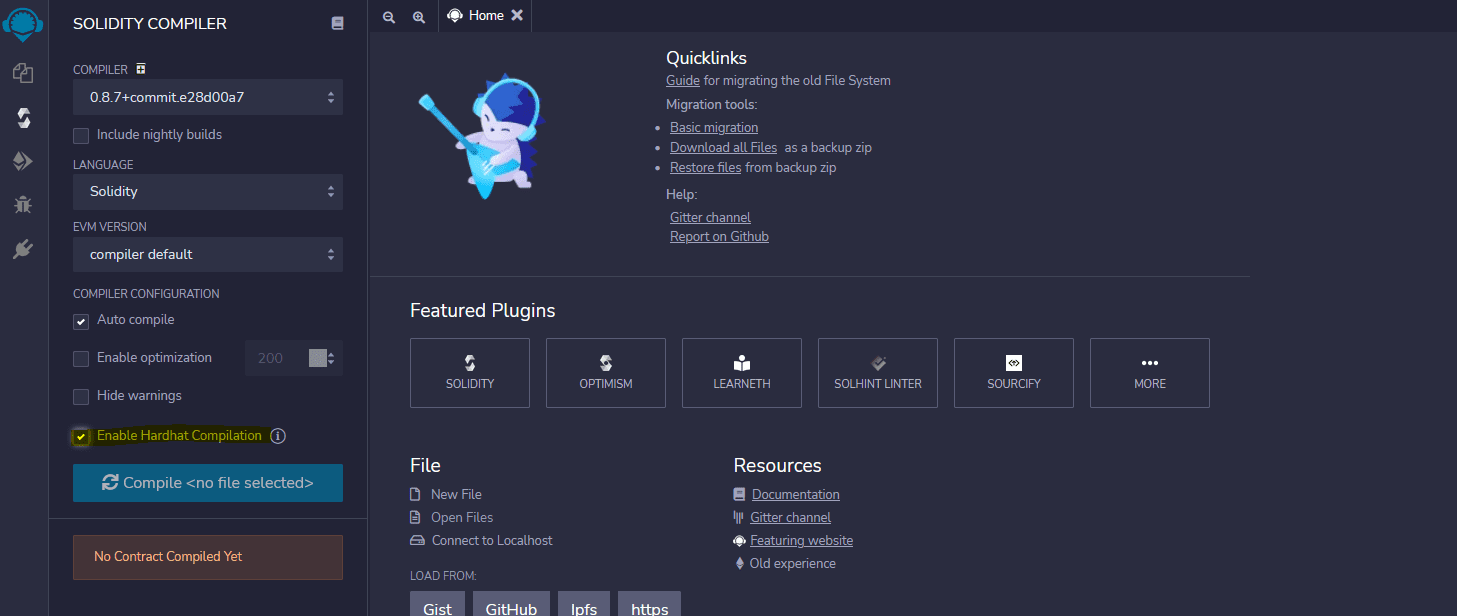
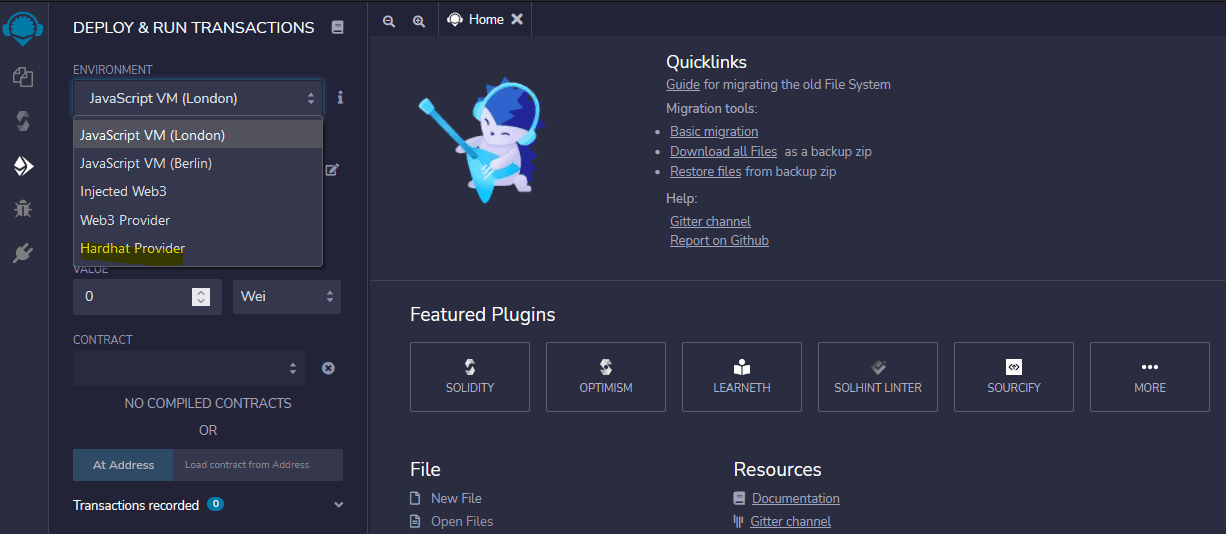
In this article, I will walk through the steps of bringing these two worlds together and show you how to configure the Remix IDE to compile contracts using Hardhat and then deploy them to a locally running Hardhat test network.

Remix is a web-based integrated development environment (IDE) created by the Ethereum foundation to make developing and testing Ethereum contracts written in the Solidity programming language a snap.
Remix is a very powerful IDE, as it supports linting, and debugging, in addition to providing fantastic testing tools that make it a snap to deploy contracts to a test blockchain network and then make interacting with those contracts a breeze.
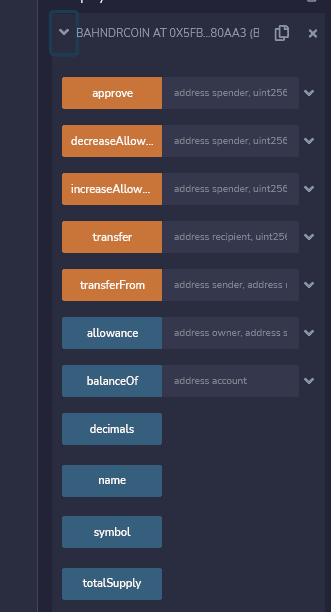
Within Remix, once you deploy a Contract to the test network, you are then able to send transactions and interact with a Contract all through a dynamic UI that reads a Contract’s metadata and exposes each input parameter as a UI control and allowing you to easily select various test accounts to use to execute functions on the method.

Hardhat is a locally installed development environment, that comes with its own Ethereum test network, that aims to simplify the deployment and testing of Solidity-based contracts, especially when compared to the long established Truffle/Ganache set of tools.
Ethereum Hardhat isn’t an IDE, meaning you still need to use something like Visual Studio Code to write your code in, however Hardhat provides the local runtime for deploying that code and testing it. One of the big advantages of using something like Hardhat is that it is designed to make debugging a lot easier, as it exposes complete stack traces and console logs when errors happen, something that both Remix and Truffle don’t do as well.
However, a major drawback to Hardhat is that all interaction with the local test network is done through a CLI which makes it extremely cumbersome to interact with the test network.
What if you could leverage the Remix IDE’s fantastic testing tools alongside a development workflow that leverages an editor like Visual Studio Code and a local blockchain runtime like
Hardhat?
Here are the steps to connect the Remix IDE to use a locally running Hardhat test network. The following commands assume you are running an Ubuntu terminal. However, that doesn’t mean you need to be running on an Ubuntu machine. I’ve tested and used these commands on Windows 10’s fantastic Linux Subsystem running an Ubuntu image.
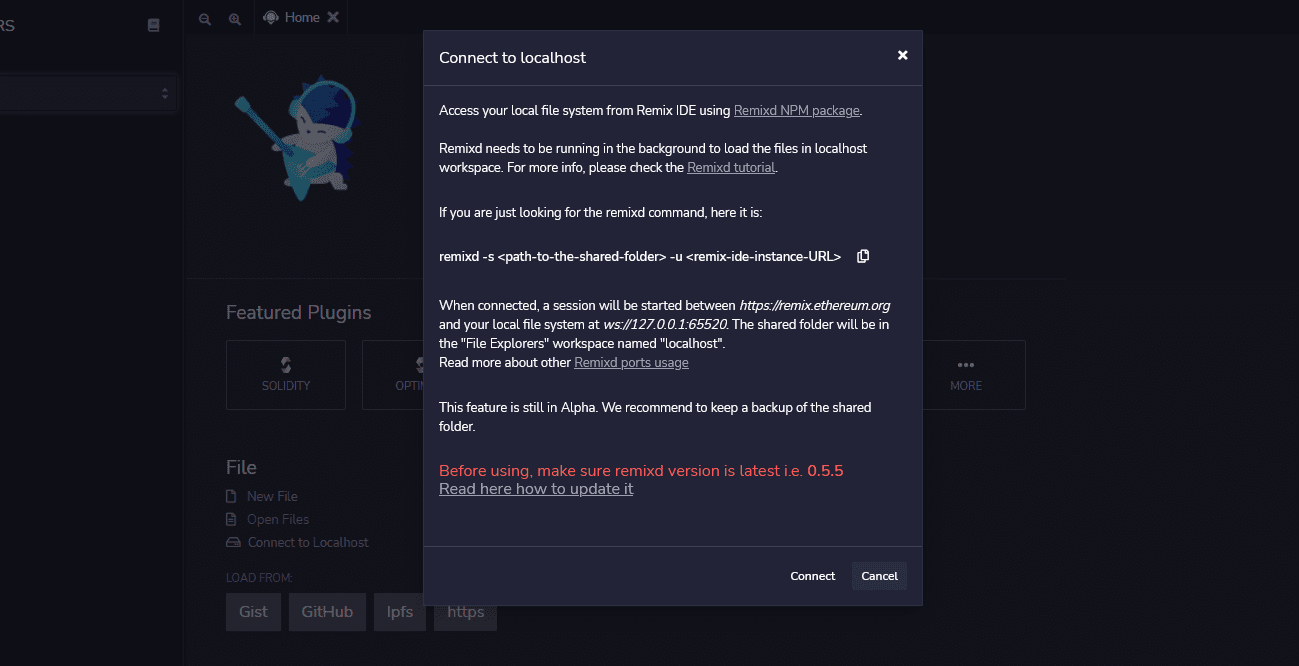
npm install -g @remix-project/remixd
remixd -s <path to your root> --remix-ide https://remix.ethereum.org
npx hardhat node
We are looking for exceptional people to join our exceptional team and build great things together.
See Our Current Open Positions